Versionen im Vergleich

Schlüssel

  • Diese Zeile wurde hinzugefügt.
  • Diese Zeile wurde entfernt.
  • Formatierung wurde geändert.
Kommentar: Mittels Scroll Versions veröffentlicht aus dem Bereich GVH und Version 1.0.

...

Sv translation
languageen


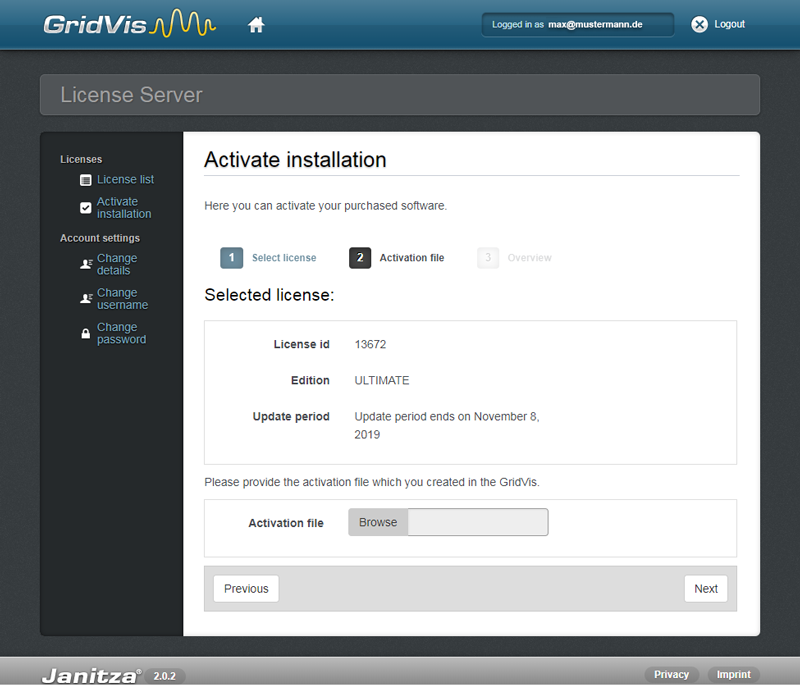
To use your newly purchased GridVis® edition, you will need to enter the serial number in the window Activate Installation.

The serial number can be found on the cover of the installation CD or on the product delivery slip.

Step 1: License Selection

  1. Enter your serial number into the entry field.
  2. Click on the button Continue.
  3. The Step 2 Request File will appear in the window.


Step 2: Request File

  1. Go into your folder directory by clicking on the button Browse and select the previously saved request file (see License Manager window, Step 1: Create the request file under Activating GridVis®).
  2. Click on the button Continue.
  3. Step 3 Overview appears.


Step 3: Overview

  1. To add your license to the installation, click on the button Activate.
  2. The system sends you an e-mail with the activation file to your e-mail address.
  3. Open your e-mail program and save the attached activation file on your computer (e.g. on your desktop).


GridVis® Desktop: Window License Manager

  1. In the GridVis® software, go back to the window License Manager (via the Welcome Window or the submenu Extras > License Management).
  2. You can import the previously saved activation file via the button in Step 3 Import the Activation File.
  3. The license will appear on the right side of the License Manager window, and is thereby activated.


Sv translation
languageit


Per utilizzare l'edizione di GridVis® acquistata, è necessario il numero di serie nella finestra Attiva installazione.

Il numero di serie è riportato sulla copertina del CD di installazione o sulla bolla di consegna del prodotto.

Passaggio 1: Selezione della licenza

  1. Inserire il numero di serie nel campo.
  2. Fare clic sul pulsante Avanti.
  3. Il passaggio 2 File di richiesta viene visualizzato nella finestra.

Image Added


Passaggio 2: File di richiesta 

  1. Fare clic sul pulsante Cercare nella directory delle cartelle e selezionare il file di richiesta precedentemente memorizzato (vedere la finestra Gestione licenze, passaggio 1: Creare il file di richiesta in Attivare GridVis®).
  2. Fare clic sul pulsante Avanti.
  3. Viene visualizzato il passaggio 3 Panoramica.

Image Added


Passaggio 3: Panoramica

  1. Per aggiungere l'installazione alla licenza, fare clic sul pulsante Attiva.
  2. Il sistema invierà un'e-mail con il File di attivazione all’indirizzo e-mail dell’utente.
  3. Aprire il programma di posta elettronica e salvare il file di attivazione allegato sul computer (ad es. desktop).


Image Added


GridVis® Desktop: Finestra Gestione licenze

  1. Nel software GridVis®, tornare alla finestra  Gestione delle licenze (tramite la Finestra di benvenuto o il sottomenu Extra > Gestione delle licenze).
  2. Tramite il pulsante al passaggio 3 Importa il file di attivazione, importare il file di attivazione precedentemente salvato.
  3. La licenza viene visualizzata sul lato destro della finestra Gestione delle licenze e viene così attivato.

Image Added